If you’ve ever worked with unfinished wood, you know how important it is to protect and preserve its natural beauty. Whether you’re a DIY enthusiast, a carpenter, or just someone who appreciates the rustic charm of unfinished wood, you might have encountered a common challenge: oil stains. These unsightly blemishes can occur during woodworking projects or as a result of everyday use. In this article, we will delve into the best methods and techniques to effectively remove oil stains from unfinished wood, ensuring your projects and furniture retain their pristine appearance. The article is developed by firstgradeappliances.com
Understanding Unfinished Wood
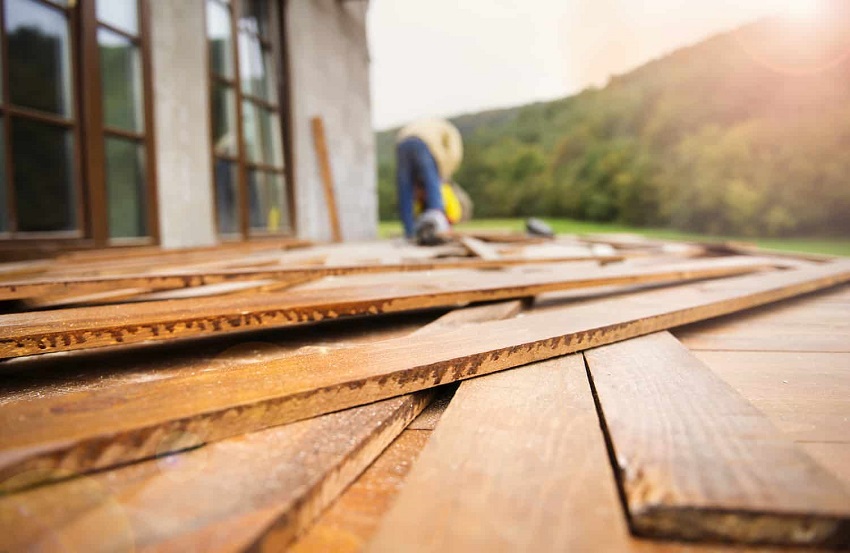
Before we dive into the methods of removing oil stains, let’s first understand what unfinished wood is and why it’s popular among woodworking enthusiasts. Unfinished wood refers to wood that has not undergone any sealing or finishing treatments, such as varnishing or painting. This allows the natural beauty of the wood grain to shine through, giving the material an authentic and organic look.
Unfinished wood is highly favored in woodworking projects and furniture crafting due to its versatility and eco-friendly nature. It allows the woodworker to apply their preferred finish, tailoring the final appearance to their liking. However, the absence of a protective finish also means that unfinished wood is more susceptible to stains, including oil stains. Do you know how to remove old oil stains from unfinished wood? Explore now.
Why Removing Oil Stains Matters
Oil stains can significantly mar the beauty of unfinished wood. They create dark, unattractive patches that stand out and distract from the wood’s natural allure. Whether it’s your latest woodworking creation or a beloved piece of furniture, the presence of oil stains can be frustrating. Therefore, it becomes essential to address these stains effectively, restoring the wood’s original splendor.
Step-by-Step Guide to Removing Oil Stains
1. Blotting the Stain
As soon as you notice an oil stain on your unfinished wood surface, it’s crucial to act quickly. Begin by blotting the excess oil with a clean, absorbent cloth or paper towel. Gently press down on the stain to soak up as much oil as possible. Avoid rubbing the stain, as it may spread and worsen the situation.
2. Applying Absorbent Material
After blotting, cover the oil stain with an absorbent material, such as baking soda or cornstarch. These materials will work to draw out the remaining oil from the wood. Allow the absorbent material to sit on the stain for several hours or overnight, depending on the severity of the stain.
3. Brushing Off the Absorbent Material
Once the absorbent material has had time to work its magic, use a soft-bristled brush to gently remove it from the wood surface. Be cautious not to scratch or damage the wood during this process.
4. Creating a Homemade Cleaning Solution
For stubborn oil stains, it’s time to bring out the big guns – a homemade cleaning solution. Mix equal parts of white vinegar and water in a bowl. White vinegar is a natural degreaser and will help break down the oil stain without causing harm to the wood.
5. Cleaning the Stain
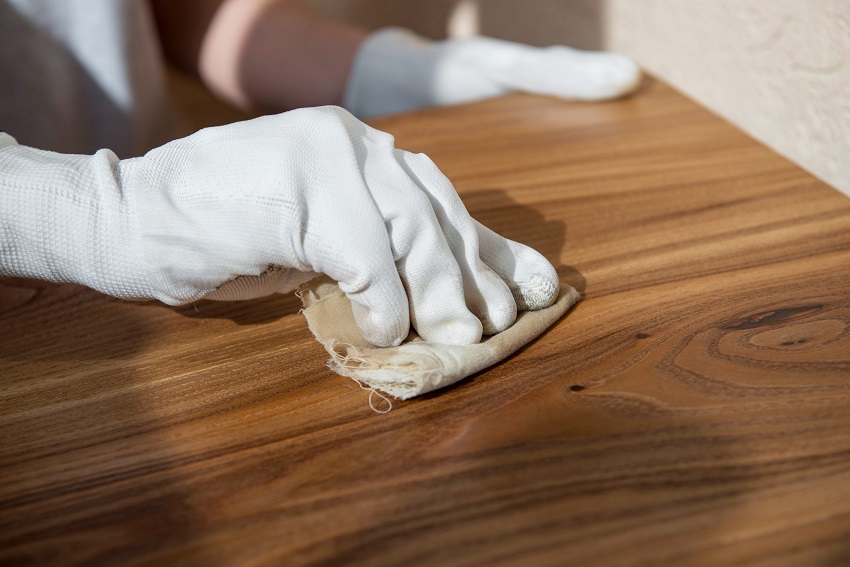
Dip a clean cloth into the vinegar-water solution and wring out any excess liquid. Gently wipe the cloth over the oil stain, ensuring you cover the entire affected area. Let the solution sit on the stain for a few minutes to work its magic.
6. Scrubbing the Stain
Using a soft-bristled brush, scrub the oil stain in a circular motion. This will help lift the stain from the wood fibers. Avoid using harsh scrubbing tools that could scratch the wood surface.
7. Rinse and Dry
After scrubbing, dampen another clean cloth with water and wipe away the vinegar solution. Once the stain is removed, dry the wood surface thoroughly with a clean towel.
8. Reapplying Finish
If the oil stain has caused the removal of some of the wood’s natural oils, you may need to reapply a finish to protect the wood. Choose a suitable finish, such as linseed oil or tung oil, and apply it according to the manufacturer’s instructions.
Preventative Measures for Future Oil Stains
Prevention is always better than cure when it comes to maintaining unfinished wood. Here are some tips to prevent oil stains from occurring in the first place:
1. Use Protective Coasters and Mats
When placing oily items, such as food or drinks, on unfinished wood surfaces, use protective coasters or mats. These barriers will prevent direct contact between the wood and the oil.
2. Clean Spills Immediately
If a spill does occur, make sure to clean it up immediately. Prompt action can minimize the amount of oil absorbed by the wood.
3. Regularly Clean and Dust
Regularly clean and dust your unfinished wood furniture or projects. Dust and dirt can attract and trap oil, leading to stains over time.
4. Reapply Finish Periodically
To maintain the wood’s natural luster and enhance its resistance to stains, consider reapplying the finish every few years or as needed.
Conclusion
Unfinished wood possesses a unique charm that many woodworking enthusiasts and artisans appreciate. However, dealing with oil stains can be a significant challenge for those who work with this beautiful material. By following the step-by-step guide and implementing preventative measures, you can successfully remove oil stains from unfinished wood and keep your projects and furniture looking pristine for years to come. Remember to act promptly, use gentle cleaning methods, and consider reapplying the finish to protect and enhance the wood’s natural beauty. With these tips in mind, you can leave no room for oil stains and let the true essence of unfinished wood shine through in all its glory.


