If you just unboxed your brand-new Blackstone griddle, you’re probably eager to fire it up and start cooking. But before tossing on burgers, steaks, or pancakes, there’s one critical step you can’t skip: seasoning your Blackstone griddle.
Think of seasoning as the foundation of your cooking surface. Done correctly, it protects the steel from rust, creates a naturally non-stick layer, and enhances the flavor of your food over time. Skipping or rushing this process can lead to sticking, uneven cooking, or even a shortened griddle lifespan.
In this comprehensive guide, you’ll learn why seasoning is essential, the best oils to use, a step-by-step seasoning process, and maintenance tips to keep your griddle in peak condition.
What Does “Seasoning” a Blackstone Griddle Mean?
Seasoning a griddle is not about adding spices or flavoring your food directly—it’s about treating the cooking surface with oil and heat. When heated, oils undergo a process called polymerization, bonding to the steel surface and forming a durable, blackened layer.
This protective layer acts as a shield against rust and creates a slick, non-stick cooking surface similar to a cast iron skillet. Over time, each layer of seasoning builds up, making your griddle better and better with every use.
Why Seasoning Your Blackstone Griddle Matters
Here are the key benefits of properly seasoning your griddle:
- Rust prevention: Blackstone griddles are made of cold-rolled steel, which is prone to rust if left untreated. Seasoning provides a moisture-resistant barrier.
- Non-stick surface: No more stuck eggs or shredded hash browns—seasoning creates a naturally slick cooking area.
- Improved flavor: With repeated seasoning, your griddle develops a unique seasoning layer that subtly enhances food taste.
- Extended lifespan: Proper care and seasoning keep your Blackstone performing for years to come.
Best Oils for Seasoning a Blackstone Griddle
Not all oils are created equal when it comes to seasoning. You need oils with a high smoke point and properties that allow them to harden and bond to the steel. Here are the best options:
- Flaxseed oil – Popular for its strong polymerization properties.
- Canola oil – Affordable, widely available, and effective.
- Avocado oil – High smoke point, making it great for seasoning and cooking.
- Grapeseed oil – Another excellent choice with a neutral flavor.
- Blackstone Griddle Seasoning & Cast Iron Conditioner – A premade blend formulated specifically for seasoning griddles.
Pro Tip: Avoid butter, olive oil, or coconut oil for initial seasoning. They have lower smoke points and don’t harden as effectively.
Step-by-Step Guide: How to Season a Blackstone Griddle
Here’s the exact process to season your Blackstone griddle properly:
-
Clean the Griddle
- If brand new, wash the cooking surface with mild soap and warm water (the only time you should use soap on your griddle).
- Rinse thoroughly and dry completely with paper towels.
-
Preheat the Griddle
- Turn burners to high heat.
- Allow the surface to heat until it begins to change color (usually 10–15 minutes). This opens the steel’s pores.
-
Apply a Thin Layer of Oil
- Using a paper towel or cloth, spread a thin, even coat of oil over the entire surface, including corners and edges.
- Be careful—surfaces will be very hot. Use tongs to hold the paper towel.
-
Burn Off the Oil
- Let the oil smoke and burn until it stops (usually 10–15 minutes).
- The surface will darken, which means the polymerization process is working.
-
Repeat the Process
- Apply another thin layer of oil and let it smoke again.
- Repeat 3–4 times until the griddle develops a dark, glossy black finish.
-
Cool and Store Properly
- Once satisfied with the seasoning, let the griddle cool.
- Lightly coat the surface with one last thin layer of oil for protection.
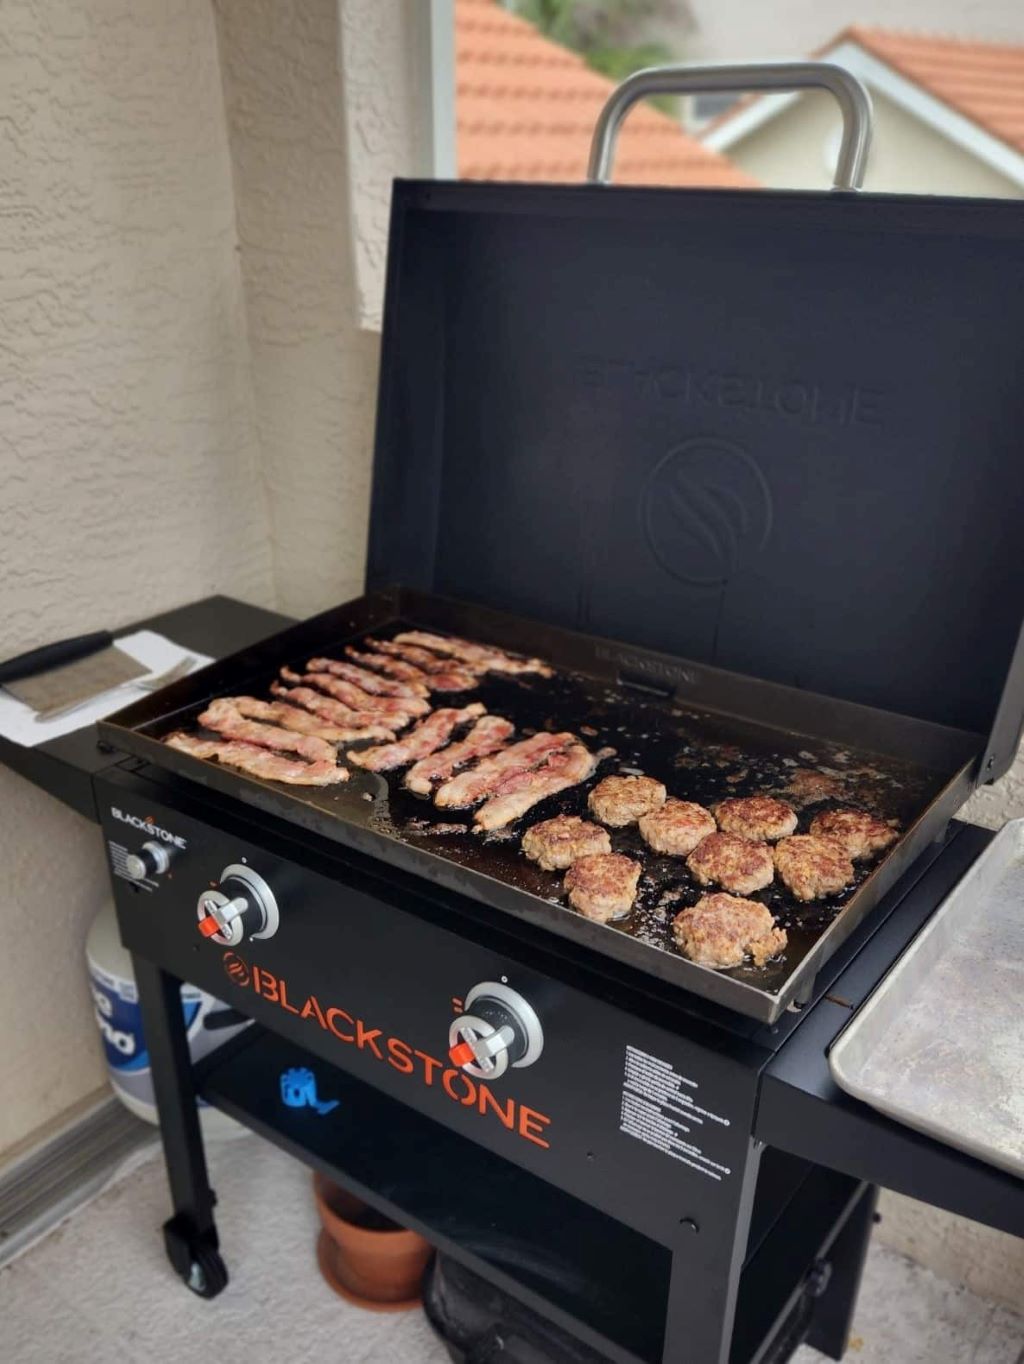
At this point, your Blackstone griddle is ready for cooking!
How Often Should You Season Your Blackstone Griddle?
- Initial seasoning: 3–4 layers before the first use.
- After each cook: A light coat of oil after cleaning maintains the protective layer.
- Deep re-seasoning: If food starts sticking, rust develops, or the surface looks dull, strip it down and repeat the full seasoning process.
Common Mistakes to Avoid When Seasoning
- Using too much oil – Thick coats turn sticky instead of hardening. Thin, even layers work best.
- Not heating long enough – Oil must fully smoke and polymerize to bond correctly.
- Using the wrong oil – Low smoke point oils burn too quickly and don’t season properly.
- Skipping edges and corners – Rust often starts where oil coverage is missed.
- Not maintaining regularly – Neglecting oiling after each use shortens your griddle’s life.
Maintaining Your Blackstone Griddle After Seasoning
Once your Blackstone is seasoned, proper maintenance keeps it in top shape:
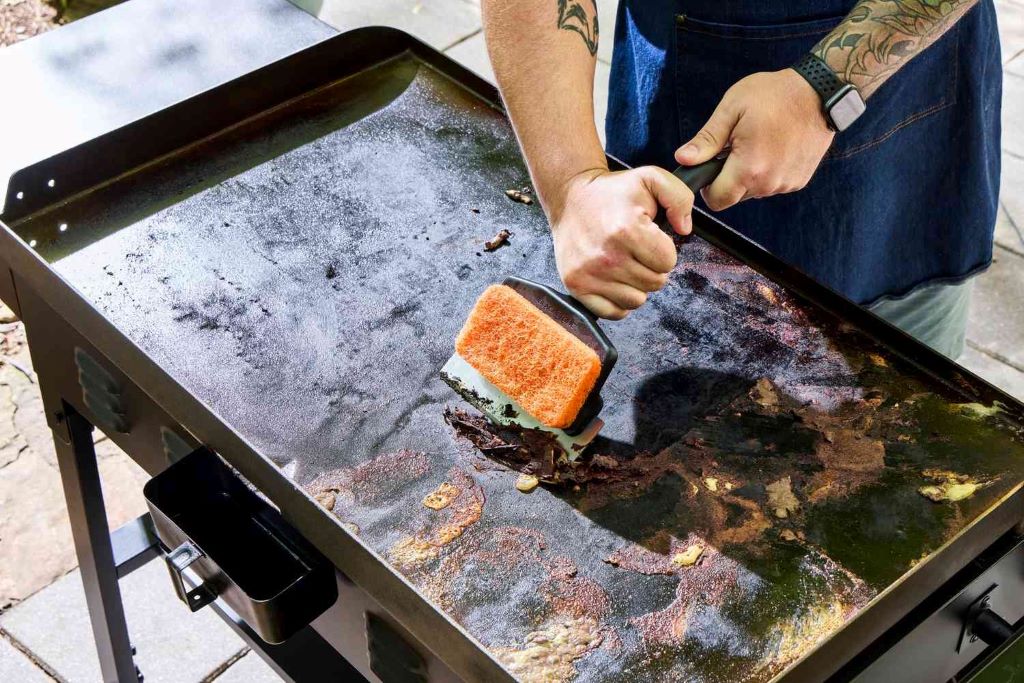
- Cleaning: After each use, scrape off food debris with a griddle scraper. Wipe with paper towels, and for stubborn bits, splash on warm water while the surface is hot.
- Avoid soap: Unless doing a complete re-seasoning, never use soap or abrasive cleaners.
- Oil after cooking: Apply a thin coat of oil after cleaning to prevent rust.
- Storage: Keep your griddle covered and protected from the elements. If stored outdoors, invest in a Blackstone cover.
Troubleshooting: Fixing a Rusty or Sticky Blackstone
Even with good care, problems can happen. Here’s how to fix them:
Rust
- Scrape off rust with a grill stone or sandpaper.
- Wipe clean, re-season from scratch with several layers of oil.
Sticky Surface
- Usually caused by using too much oil. Heat the griddle on high until sticky residue burns off, then start fresh with thin oil layers.
FAQs About Seasoning a Blackstone Griddle
- How long does it take to season a Blackstone griddle?
The initial seasoning process takes about 1–2 hours, depending on how many layers you apply. - Do you need to season a new Blackstone griddle?
Yes! Even brand-new griddles need seasoning to protect against rust and create a non-stick surface. - Can I cook on my Blackstone right after seasoning?
Yes. Once the final layer cools and you’ve applied a light protective oil coat, your griddle is ready for use. - How do I know when my Blackstone is seasoned properly?
The surface should look dark brown to black, smooth, and glossy. Food should not stick easily. - Can I use olive oil to season my griddle?
Not recommended. Olive oil has a low smoke point and does not polymerize as well as oils like flaxseed or canola.
Final Thoughts
Learning how to season a Blackstone griddle is the key to unlocking its full potential. While it may feel like an extra step before cooking, this process pays off in the long run by preventing rust, improving food release, and extending your griddle’s life.
Once your Blackstone is seasoned and maintained properly, you’ll have a versatile cooking surface ready to handle everything from sizzling smash burgers to Sunday morning pancakes.
Related Topics:
Authentic Italian Pizza and Pasta Found in the Centre of Dublin in Ireland
7 Expert Tips to Quickly Sell Your Condo Fast